![SPRII-udenR_logo-orange+dark.png]](https://help.sprii.io/hs-fs/hubfs/SPRII-udenR_logo-orange+dark.png?height=40&name=SPRII-udenR_logo-orange+dark.png)
YOU WILL LEARN
How to add sizes, colors or other choices to a campaign product, check the resulting variants, and edit their buy codes later.
BEFORE YOU START
- An existing campaign on the intended Sprii Page. For setup, see Set up a Live Shopping campaign.
- Sprii Checkout for a product you add by hand. A manual Sprii product does not automatically become a product in your webshop checkout. For imported products, use the webshop section below.
- The choices you sell and the available stock for each combination.
An attribute is a kind of choice, such as Color or Size. Its values are the individual choices, such as Blue or Small. Selecting Blue and Green together with Small and Medium produces four variants.
Each value has a name shoppers read and a buy code they type in a comment. The two do not have to match: "Indigo Blue" can have the buy code blue. Use short codes that are easy to spell. Sprii removes +, !, ( and ) from a buy code and trims spaces.
Important: Attributes, their values and the values' buy codes belong to your whole Sprii Page, not to one campaign. Use each code for only one product or choice. If two variants share a code, a matching comment can create the wrong order.
Name your attributes
- Go to Page settings
 > Product attributes
 - Check the name fields under Attribute 1, Attribute 2 and Attribute 3. If a name is blank, give the attribute a clear name, such as Color or Size. Keep the meaning of names that other products already use. The names save automatically shortly after you stop typing.
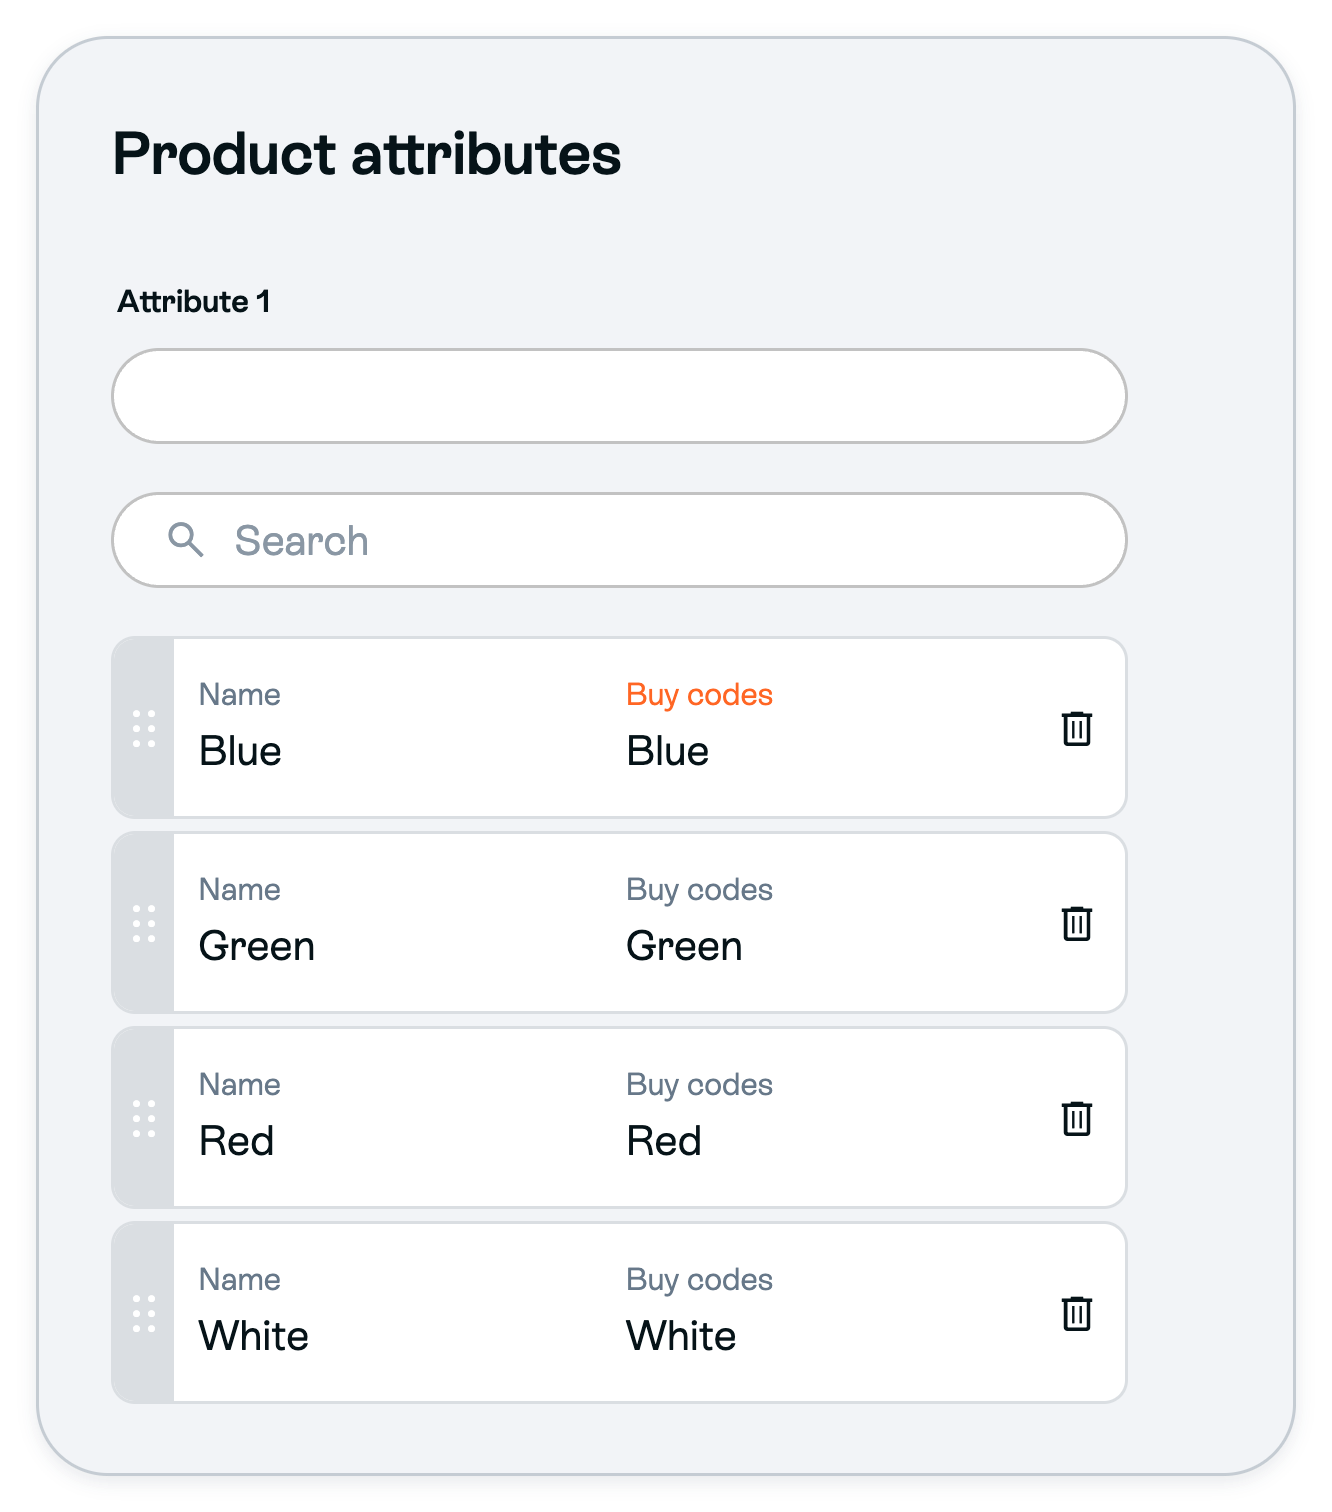
The blank field under Attribute 1 names the attribute. The rows below it are its values. - For a manual product, each attribute you use needs at least one value here. If it has none, click its Add new button, such as Add new "Color", enter Name and Buy codes, then click Create. For example, create Blue under Color and Small under Size before you open the campaign product.
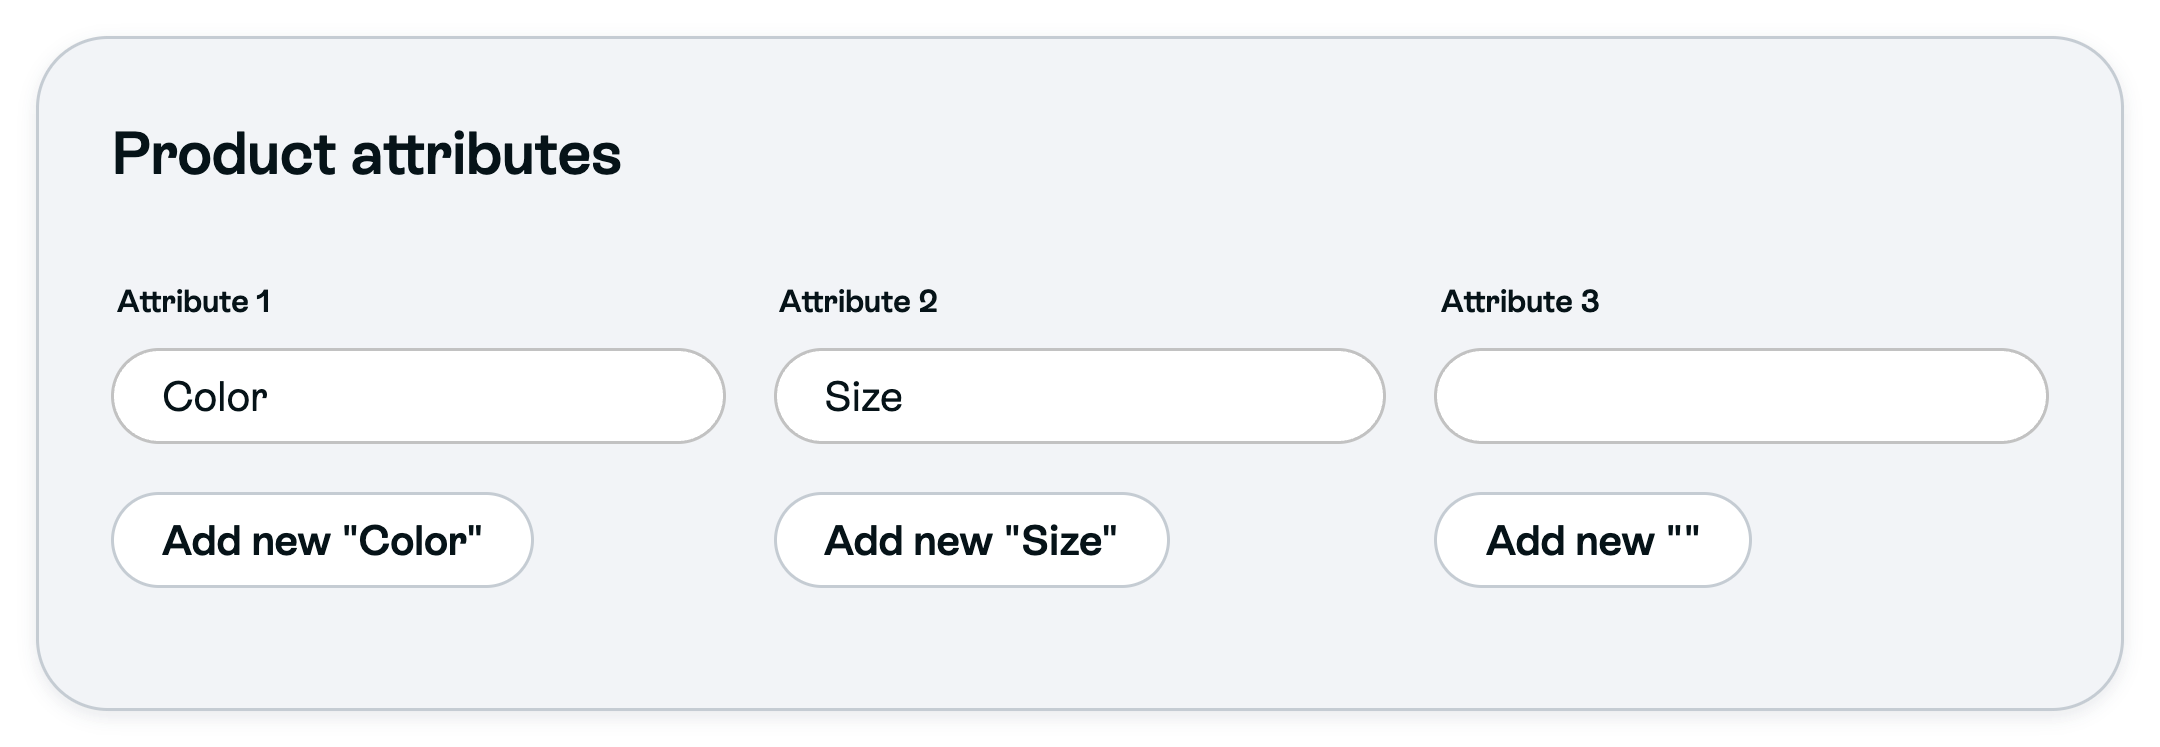
After this first setup, you can also add values from the campaign product.
Open the campaign product
- Go to Campaigns
 and open the intended campaign. Then choose Products.
 - For a new manual product, click Add > New campaign product... and enter Product name, Price and Inventory. Leave the product open while you add its variants. For an existing manual product, open that product instead.
- In Add buy codes, enter a short product code, such as
shirt, then click Add or press Enter. This product code is separate from the variant codes.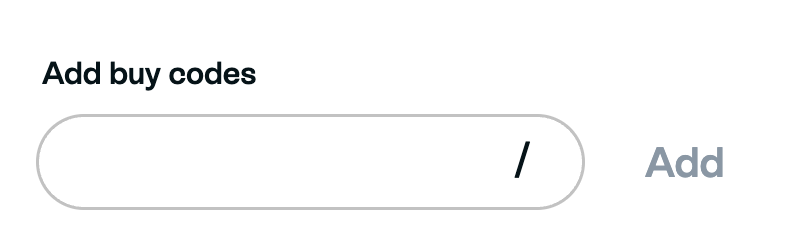
- Open Variants and select the values you need under each attribute. Use only the attributes this product needs.
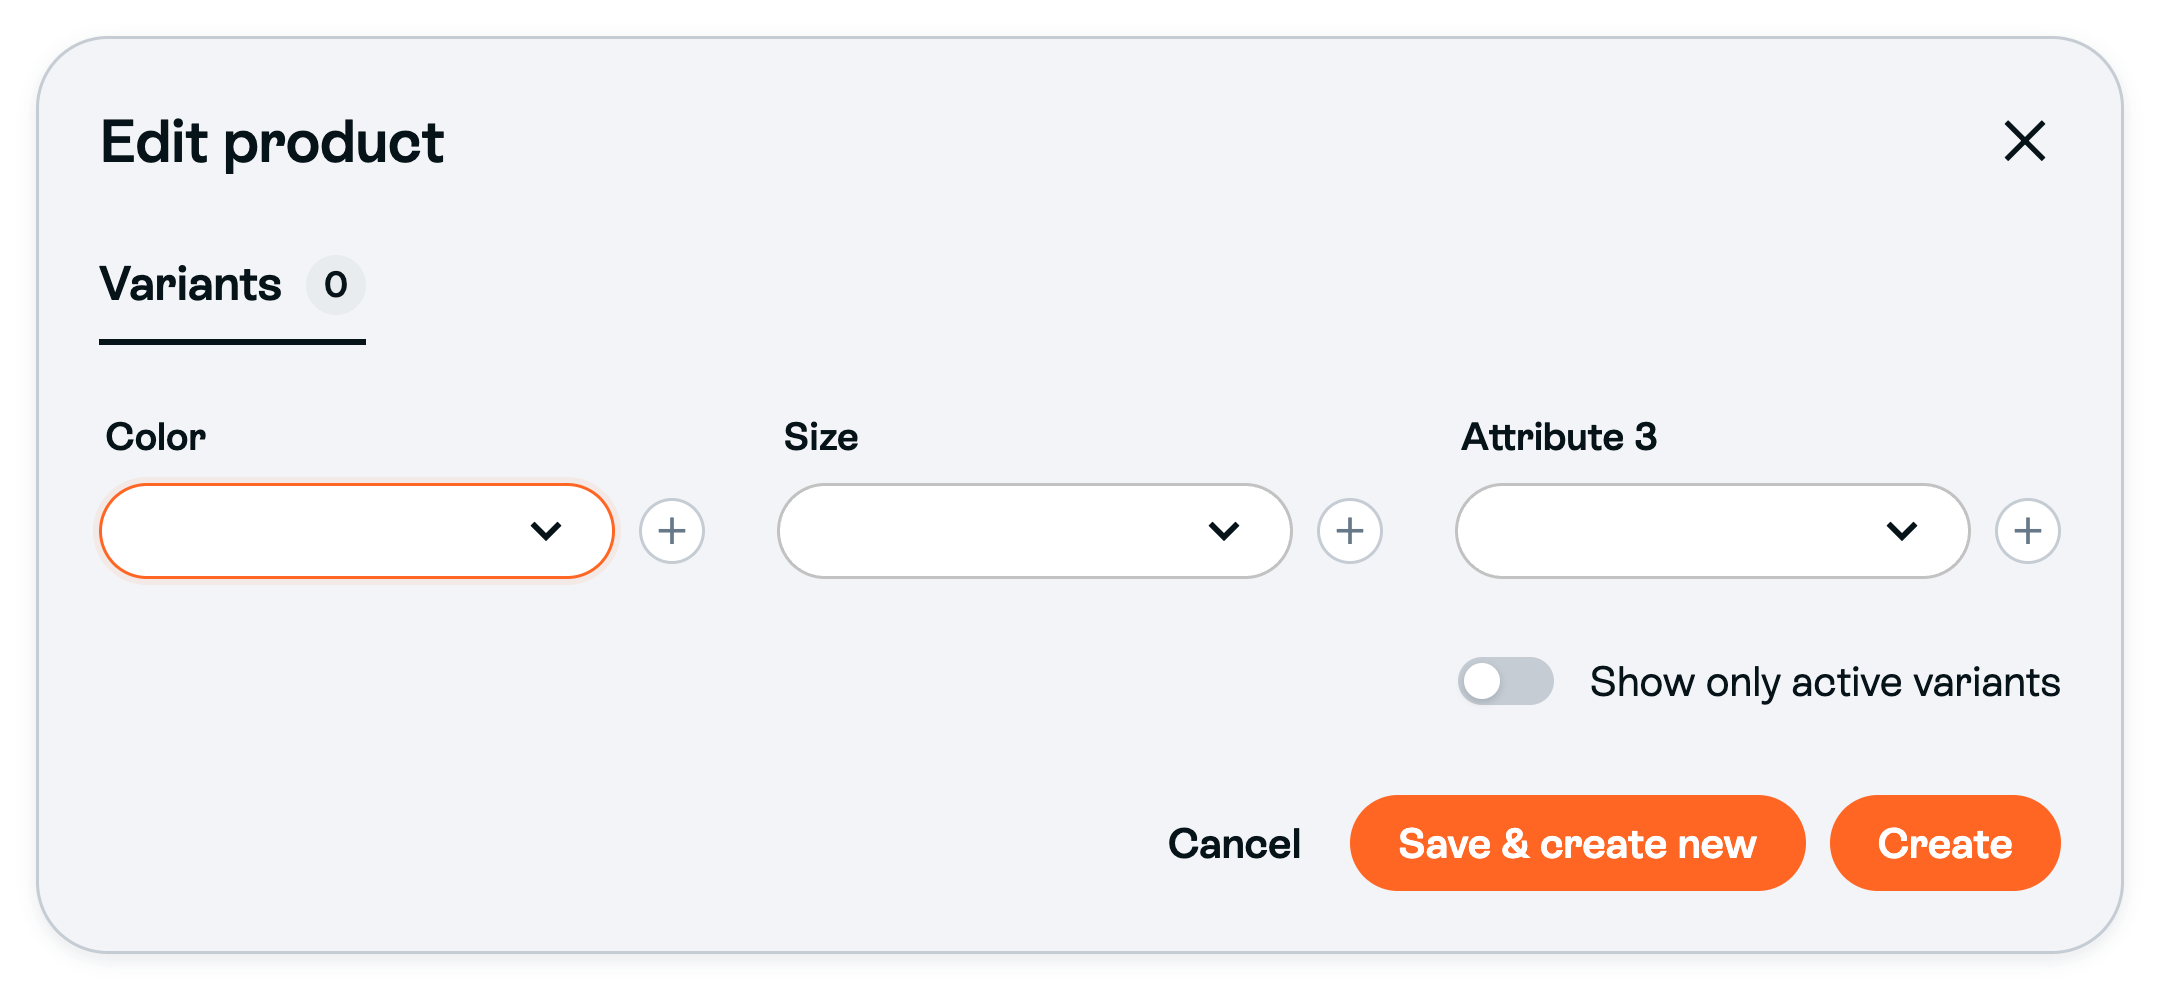
If an attribute has no values to select, it still needs its first value. Note any unsaved product details, create the value as described in Name your attributes, then reopen this product.
Create a missing choice
After an attribute has its first Page value, you can create more values from the product when its + is shown. If the value already exists, select it instead.
- Click the + beside the attribute.
- Enter the Name, such as Blue, and a short Buy codes value, such as
blue. If this code already exists under the attribute, Sprii reuses that value, so check its name.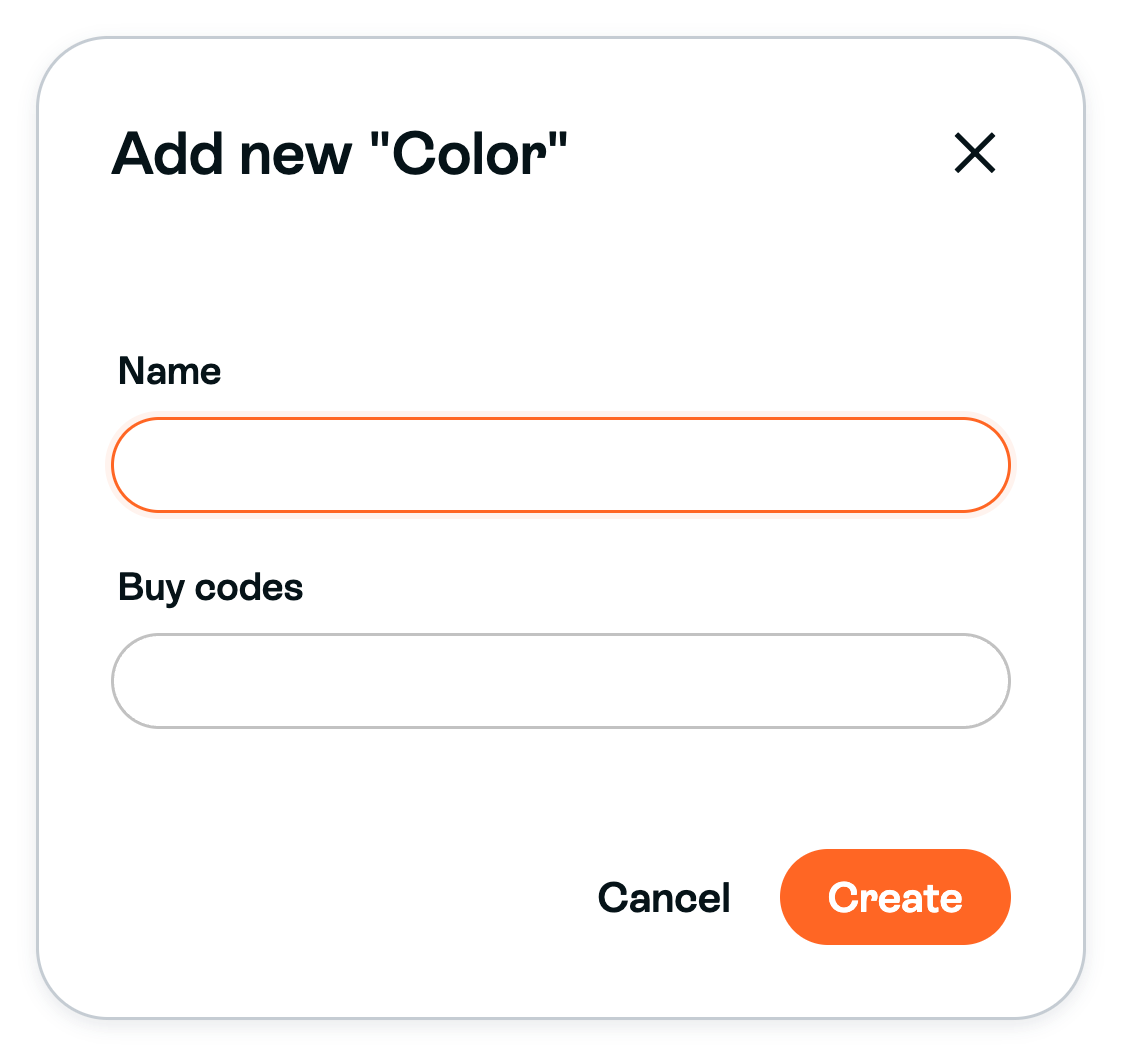
- Click Create.
Important: This Create saves the value for your whole Sprii Page right away. Canceling the product does not undo it. The product still needs its own save.
Check the combinations and save
- Review the rows your selections create. Blue and Green with Small and Medium should give Blue Small, Blue Medium, Green Small and Green Medium. Remove any choice you do not sell from its selector. This removes every combination that uses it.
- Set Inventory for every variant to the stock you actually have. New manual rows start at zero with unlimited inventory off. Selecting a choice does not put it on sale.
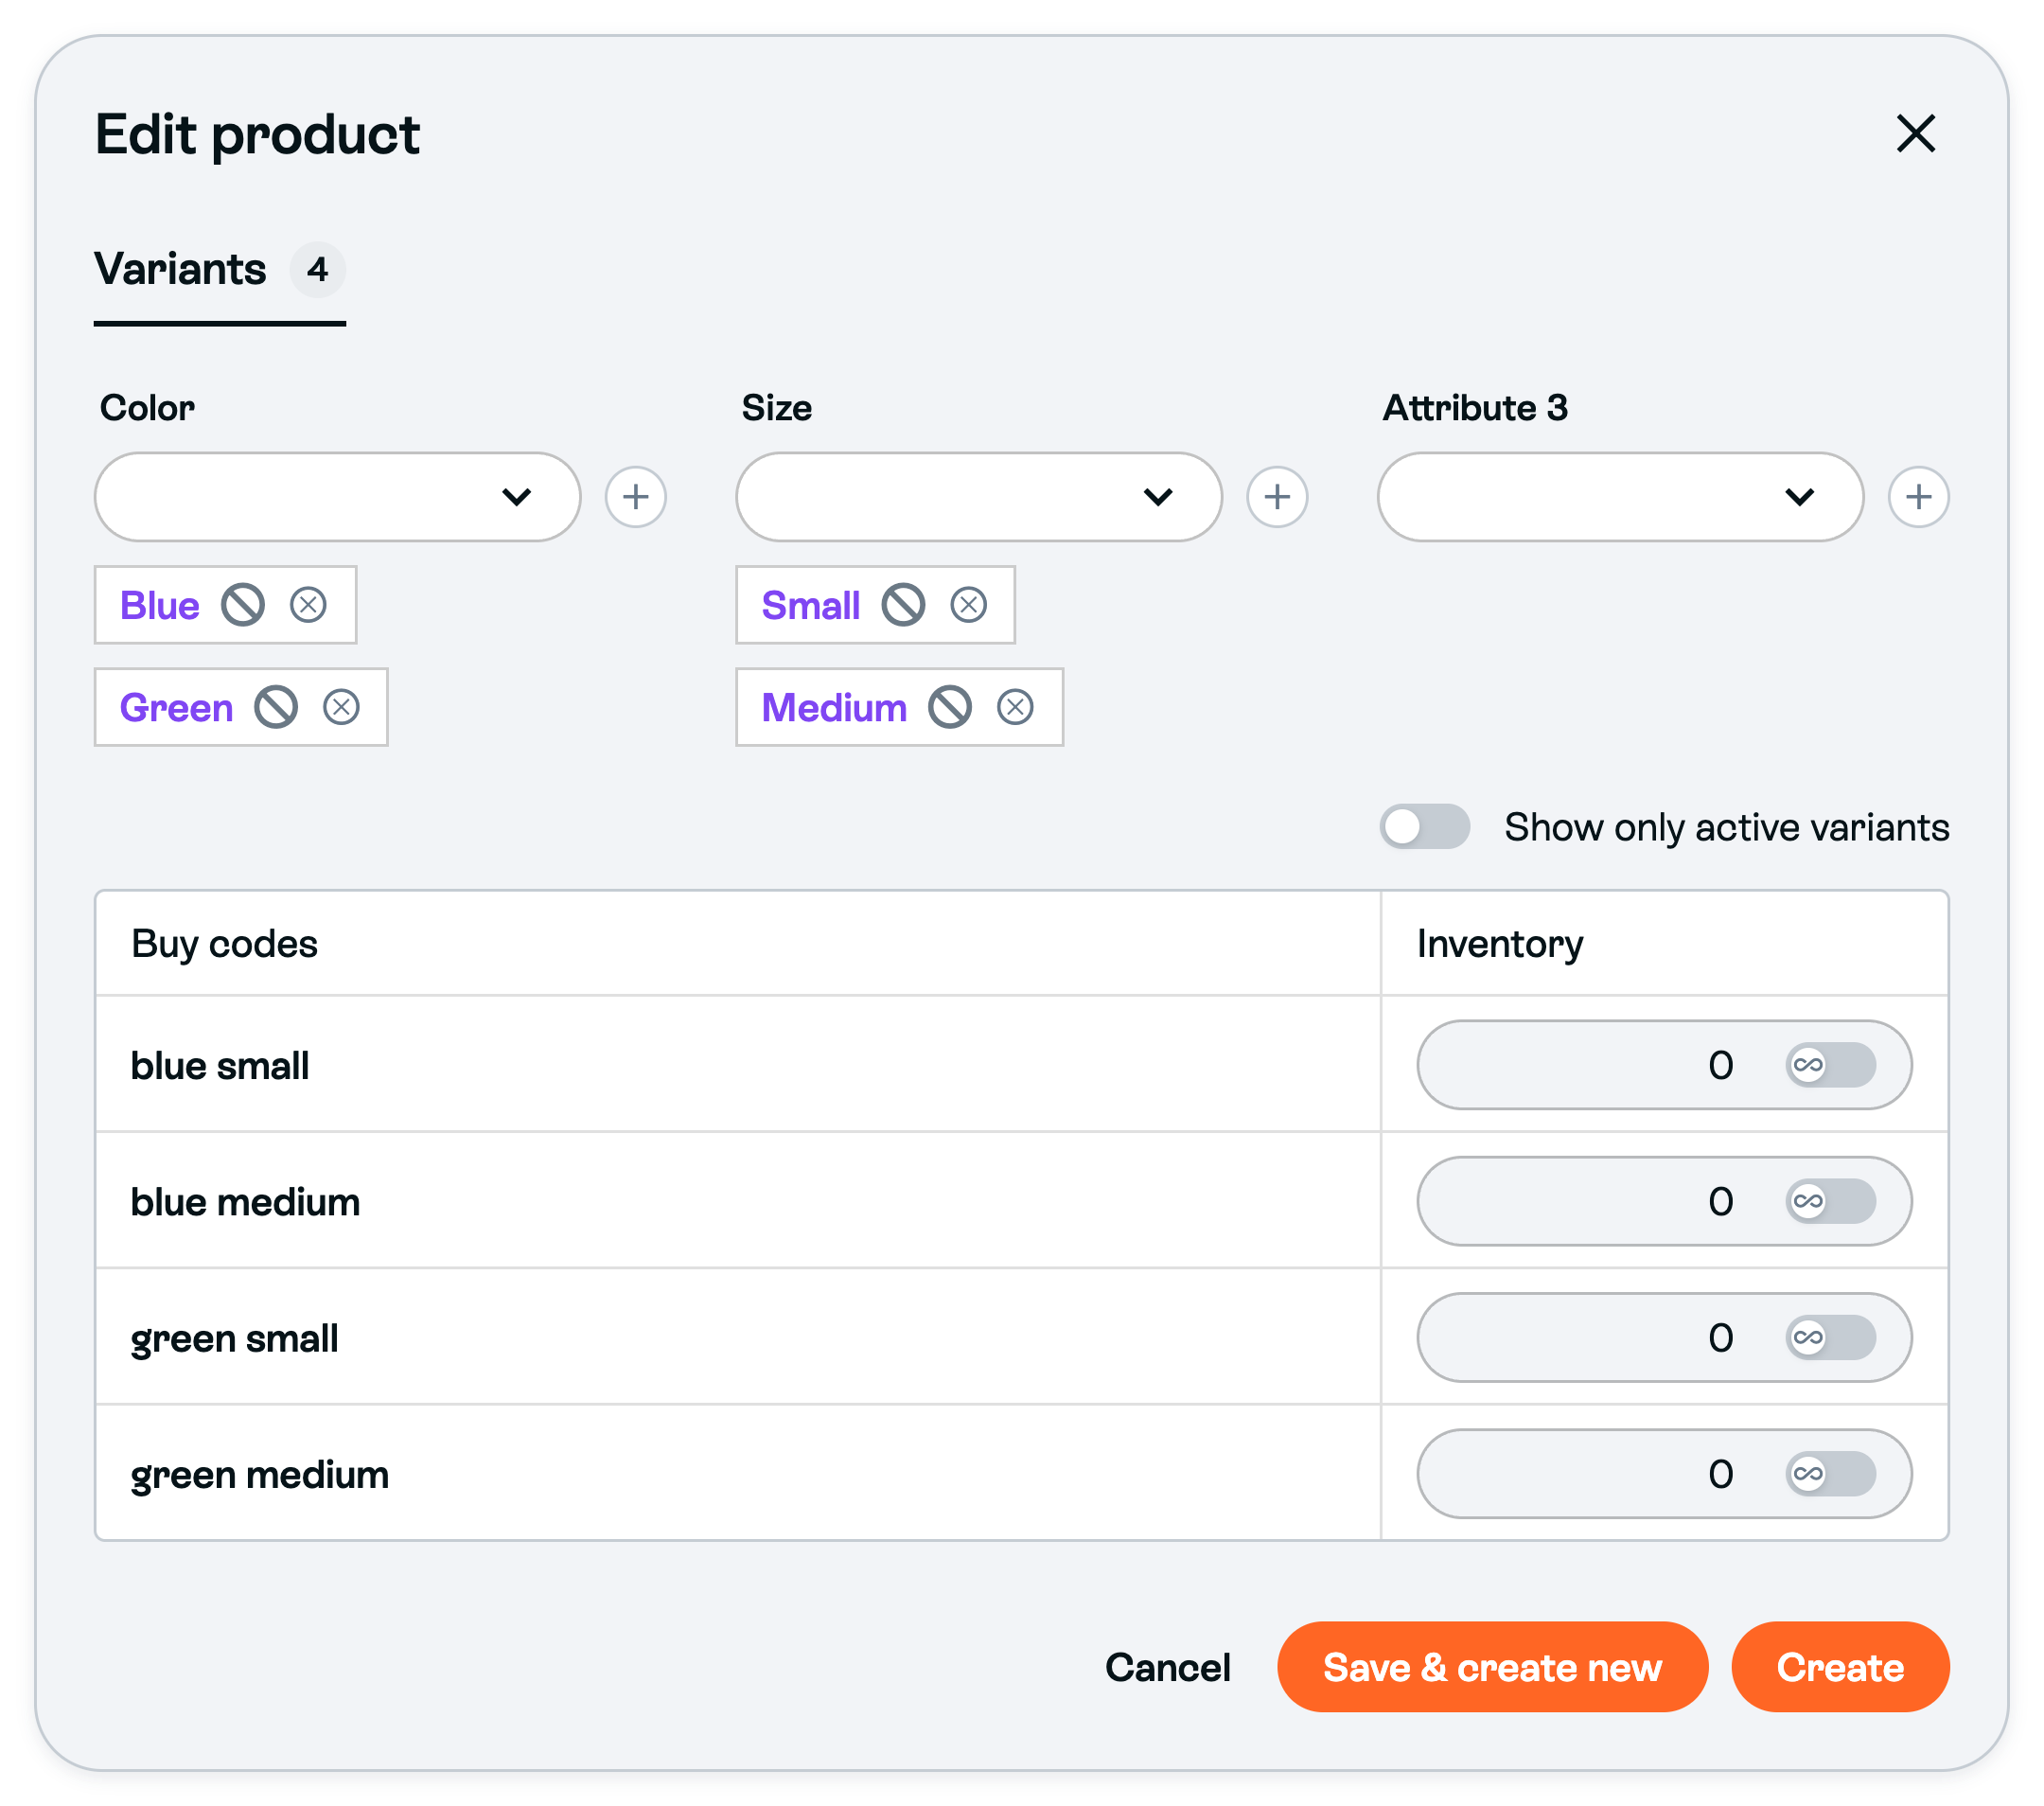
This example shows four combinations before saving, all still at zero stock. - Click the product's Create for a new product, or Save for an existing one.
- Return to Products, reopen the product and check that its choices, combinations, buy codes and stock are saved.
Each campaign keeps its own copy of a product. If the product is in other campaigns, check it there as well.
Tell shoppers how to order
A comment needs the campaign's purchase word, the product's buy code and its required variant choices. With purchase word shop, product code shirt and the choices above, an example is shop shirt blue small.
Keep numbers out of product and variant buy codes and variant names when Allow product quantity is on. A number can be read as a quantity.
If a comment leaves out a required choice, Missing Attributes can ask the shopper to choose in a private message. The reservation is recorded only after they choose. Private messages are not guaranteed to arrive.
Change a variant buy code
You can change a value's buy code from a campaign or in Page settings. Both change the same Page-wide code. Products in other live and upcoming campaigns can keep the old code, so check them after the change.
Edit from a campaign
- In Sprii, go to Campaigns and open the campaign. Then go to Products.
- Click the product whose variant you want to change.
- Open Variants.
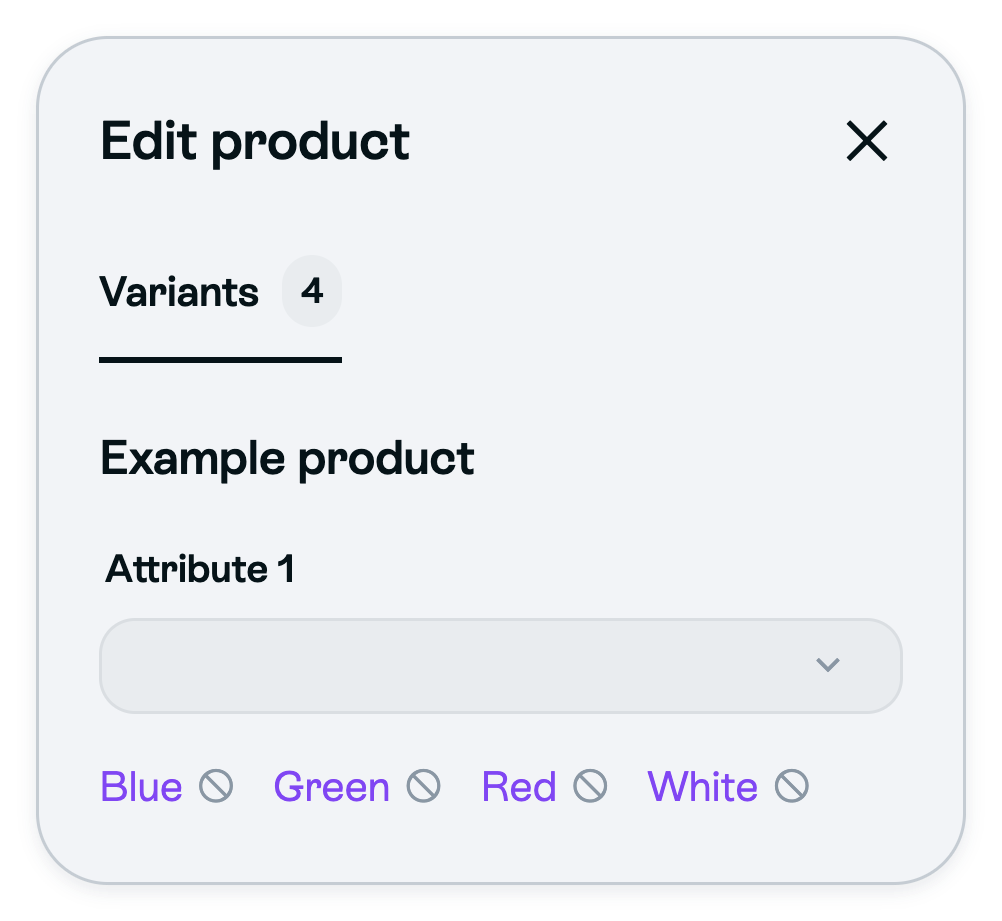
No purple terms? The variants may not exist yet. Create them in Page settings > Product attributes, as described in Name your attributes, then select them on the product. If the values already exist, just select them. - Click the purple term you want to change.
- Enter the new code in Buy codes.
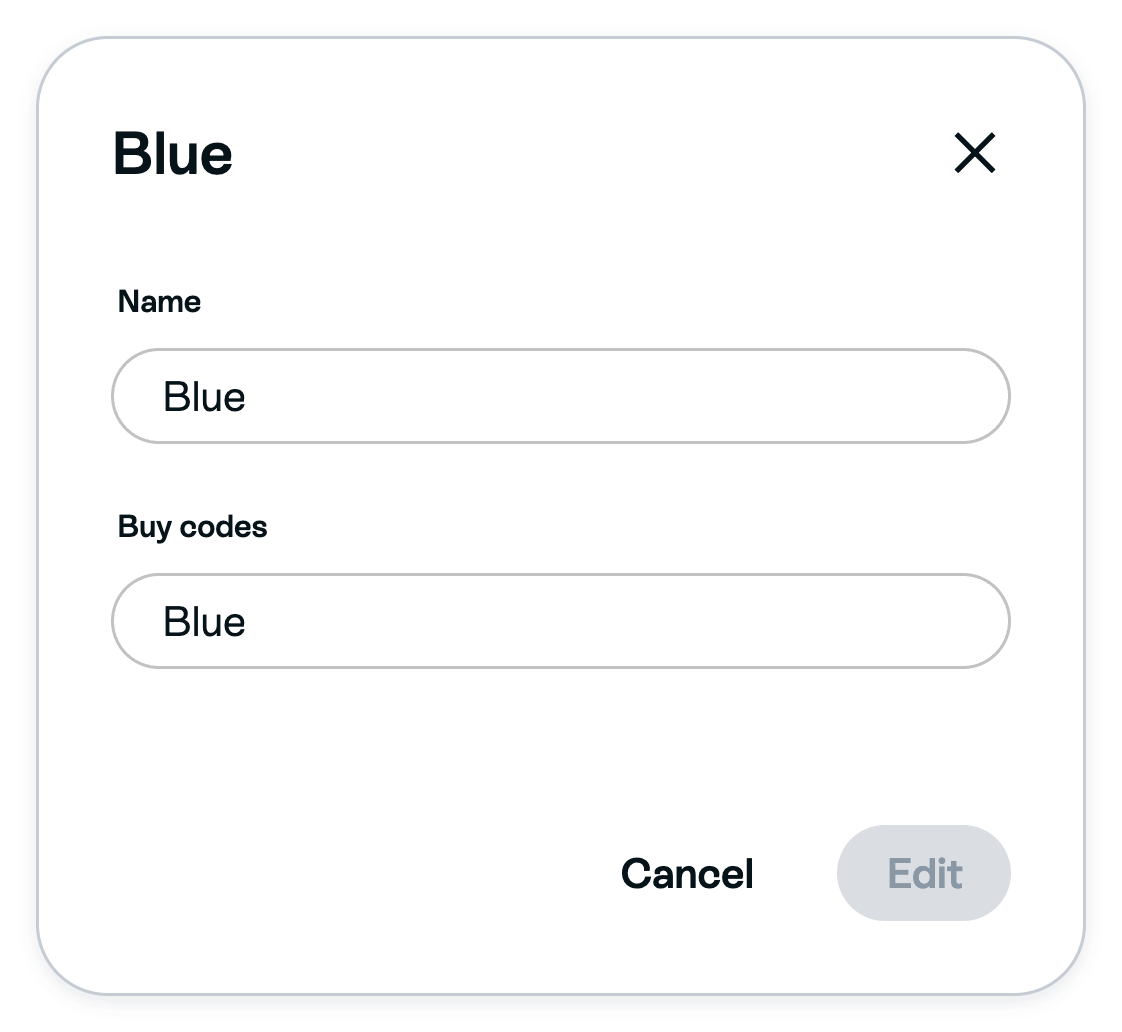
- Click Edit. The shared code is updated and you are back in the product editor.
- Check the new code, then click the product editor's Save
 to save this campaign's copy of the product.
Edit from Page settings
- In Sprii, go to Page settings > Product attributes
- Find the value and type the new code in its Buy codes field. It saves automatically shortly after you stop typing. There is no Edit or Save button here.
Important: The campaign editor checks for conflicting buy codes. Do not rely on that check for edits made here. Check your other products before you change a code.
For an imported webshop product
- Create or maintain the product's choices in your webshop, then follow its integration or product-feed guide to make the product available in Sprii.
- In the intended campaign's Products, choose Add > Product from catalog..., select the product and click Add products with the selected count. With PrestaShop, choose Webshop product... instead of Product from catalog...
- Open the campaign product's Variants and check the imported choices, buy codes and stock before offering it.
Shopify manages the choice selectors and variant names of products imported from Shopify. Change them in Shopify, then follow the Shopify integration guide to update Sprii. Stock and price controls depend on the integration and selected source. Do not overwrite imported values just to match the manual example above.
Need help? Contact Sprii Support