![SPRII-udenR_logo-orange+dark.png]](https://help.sprii.io/hs-fs/hubfs/SPRII-udenR_logo-orange+dark.png?height=40&name=SPRII-udenR_logo-orange+dark.png)
YOU WILL LEARN
How to turn on Link tracking and choose the UTM values Sprii adds to its links.
BEFORE YOU START
- An analytics tool, such as Google Analytics, already set up to read UTM parameters on your webshop
- A webshop that is not on DanDomain Hosted. Link tracking does not work with that integration.
Set it up
- In Sprii, go to Page settings
 > Plugins

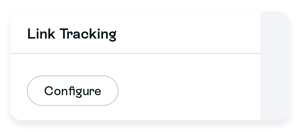
- Find the Link Tracking card and click Configure.
- Click Activate plugin.
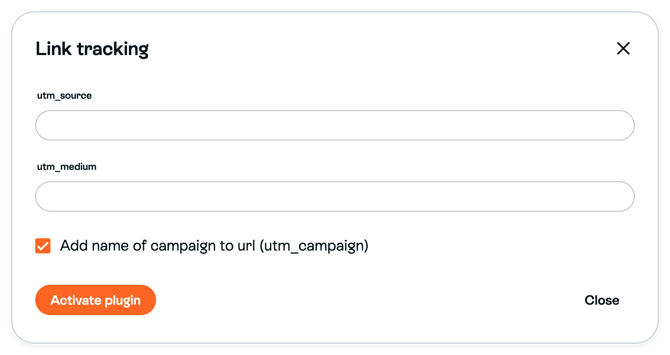
- Enter utm_source, the source you want your analytics tool to record, for example
sprii. - Enter utm_medium, the marketing medium you want it to record, for example
live. Use values that match the naming you already use in your analytics tool. - Keep Add name of campaign to url (utm_campaign) selected to see which campaign sent the traffic. It is selected by default. Clear it to keep the campaign name out of the links.
- Click Save

Save appears once you have activated the plugin or changed a value. Nothing is stored until you click it. If you close the window with changes unsaved, they are discarded.
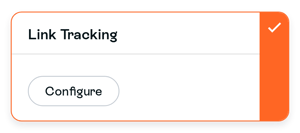
Link tracking is on. The card shows a check mark.
Limitations
- Source and medium apply to the whole Page, including Facebook and Instagram. They cannot differ per campaign or platform. Only the optional campaign name varies.
- Saved values are added to links Sprii generates from then on, for existing and new campaigns. Links already generated or sent are not changed.
- Sprii adds the parameters. How the traffic is reported and attributed is up to your analytics tool.
- Links keep any URL parameters they already have when Sprii adds the UTM values.
Need help? Contact Sprii Support