![SPRII-udenR_logo-orange+dark.png]](https://help.sprii.io/hs-fs/hubfs/SPRII-udenR_logo-orange+dark.png?height=40&name=SPRII-udenR_logo-orange+dark.png)
YOU WILL LEARN
How to turn on the waitlist and write the messages it needs.
BEFORE YOU START
- Your Facebook Page connected to Sprii, so Sprii can message shoppers. See Connect Meta to Sprii.
- A campaign with a reservation deadline
Set it up
- In Sprii, go to Page settings
 > Plugins

- Find the Waitlist card and click Configure.
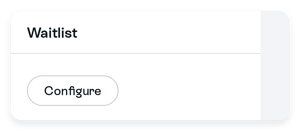
- If the plugin is inactive and offers Activate with defaults, choose Set up manually to write your own messages. If the inactive form instead shows Activate plugin, click that button

Activate with defaults saves the supplied setup immediately. Set up manually lets you edit before saving. Plugin activation is separate from the Enable automatic waitlist checkbox. - Turn on Enable automatic waitlist so shoppers can be queued automatically. Fill in Message to customer with the question offered when their product has sold out.
- Fill in Add to cart and No thanks with the shopper’s accept and decline button labels. These and Message to customer are the three required message fields for manual setup.
- If useful, add Message to customer if the item was sold out. Set Release product reservation after how many minutes to choose how long an offered product stays reserved while the shopper responds.
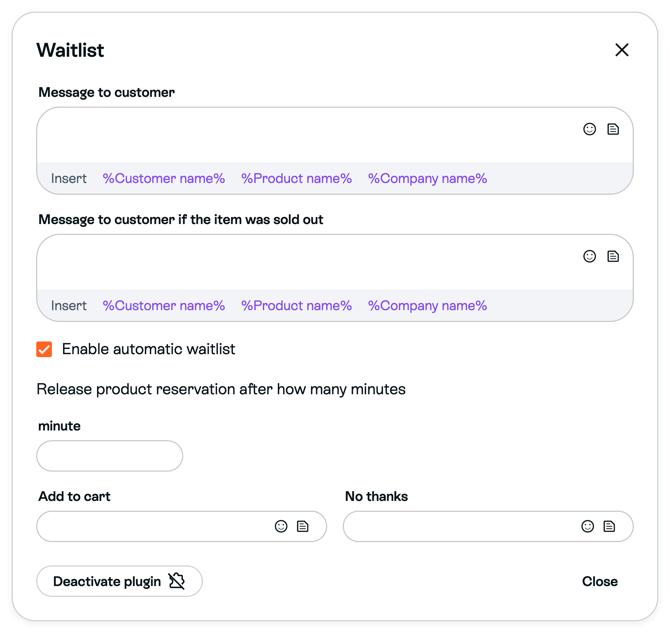
- Accept any required terms, then click Save
 before closing the configuration. Closing without saving discards edits. After a successful save, Cancel and Save can remain visible; close and reopen the configuration to check your saved values.
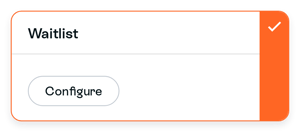
The waitlist is on. It applies to your campaigns from now on, including a campaign that is already running.
Limitations
Important: Sprii sends the availability message. Meta decides whether it reaches the shopper. If the message fails, the shopper's hold on the product is released and the next shopper in the queue is offered it.
- Shoppers can join the waitlist only up to the campaign's reservation deadline. Finishing a checkout can have its own grace period after that.
- If you extend the reservation deadline, the waitlist starts working again at the next normal trigger. Sending a message by hand does not restart it.
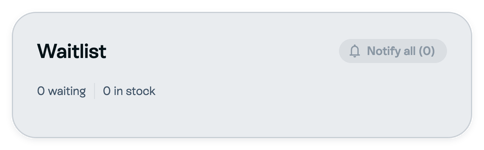
- Notify all reaches only the waiting shoppers whose product can be bought right now, and who have not already had an availability message.
- To see the queue, go to Campaigns
 and choose the campaign’s Open menu > Dashboard, then find Waitlist. The empty view below shows where Notify all appears. You can remove a waiting shopper from their queue entry. Their place in the queue follows when they checked out.
- The Abandoned Cart plugin can release stock that the waitlist then offers to the next shopper. That still depends on the waitlist and on Meta delivering the message. See Set up the Abandoned Cart plugin.
Need help? Contact Sprii Support