Last updated: October 2024
Applies to: All Sprii users
Category: Connect your tools: shipping
💡 Top takeaways
If you already have a shipping agreement with GLS, you can easily save time after your live show by integrating it with Sprii. Read on to learn how you can connect your existing GLS agreement to Sprii.
Return labels
Be advised that the integration to GLS do not support return labels. For more advanced shipping options use the Shipmondo integration.
How to set up a GLS integration
Firstly head to the "Page settings" in Sprii and find the GLS integration under "Shipping".
Click Configure.

To set up the GLS shipping integration 5 fields must be filled out.
.png?width=688&height=533&name=GLS%20(1).png)
The title is what the customer will see at checkout.
The username and password are the same credentials used to login into YourGLS account.
The customerid and contactid can be found under processing -> send parcel in YourGLS:
.png?width=688&height=337&name=GLS%20(4).png)
You can now copy and paste these values into the integration in Sprii.
.png?width=688&height=337&name=GLS%20(5).png) Your integration should now resemble the example shown below.
Your integration should now resemble the example shown below.
.png?width=688&height=533&name=GLS%20(2).png)
You can now choose the desired shipping options from the dropdown "Shipping Products":
.png?width=688&height=337&name=GLS%20(3).png)
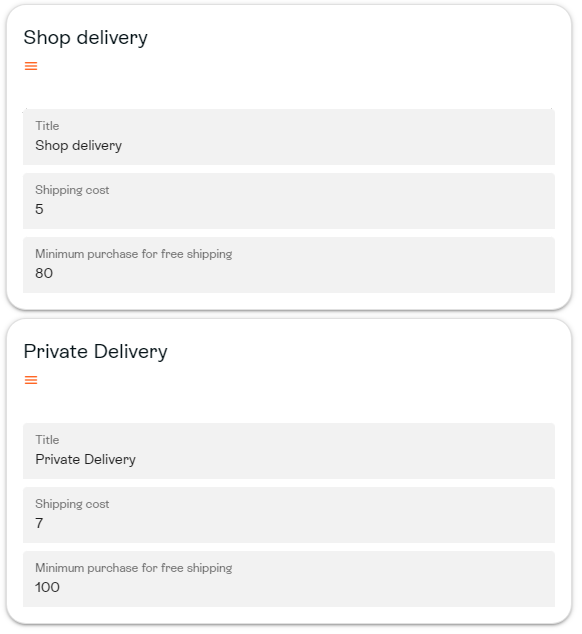
You can now configure the shipping options below:
Finally, press "Save", and you have successfully configured your GLS integration!